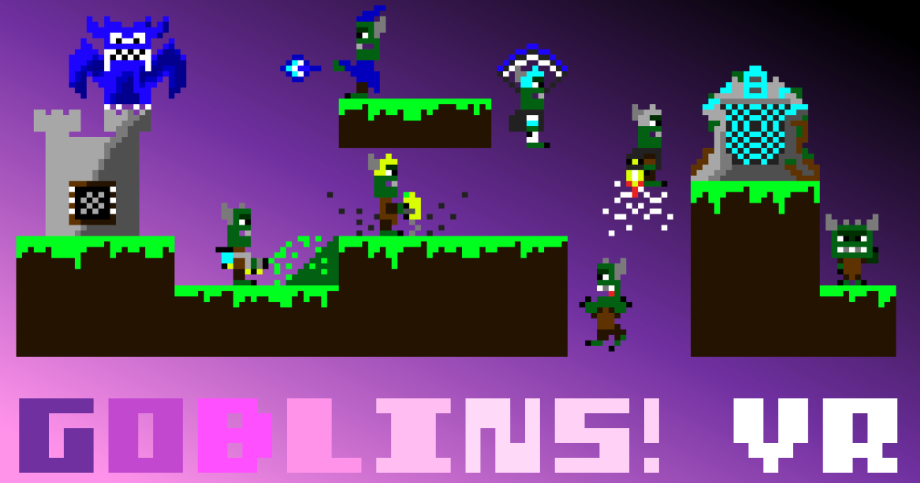
Goblins! VR
Goblins! VR - Implementation Guides: Interactive Hi-Fi and cassette tapes


Goblins! VR: Implementation bits and pieces
Part 1: Hi-Fi and Cassette function
This post goes over the UE4 Blueprint method used in Goblins! VR to create cassette pickups that can be placed into an old-school hi-fi as a way of letting the player choose what soundtrack they want to hear whilst playing the game.
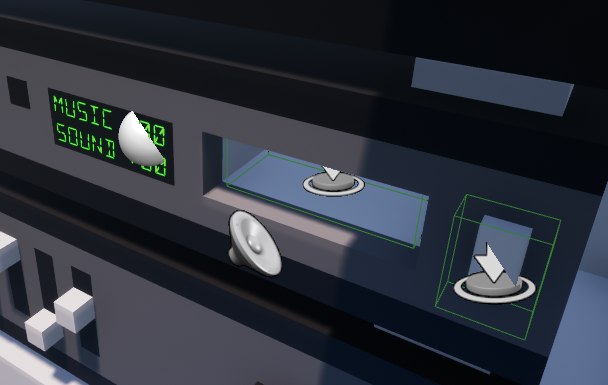
Figure 1. The hi-fi and cassette models in-game
Pickup cassette
This bit was pretty easy. As I started by using the VR template in UE4, I could simply go to Content/Assets/VirtualRealityBP/Blueprints and get the BP_PickupCube.
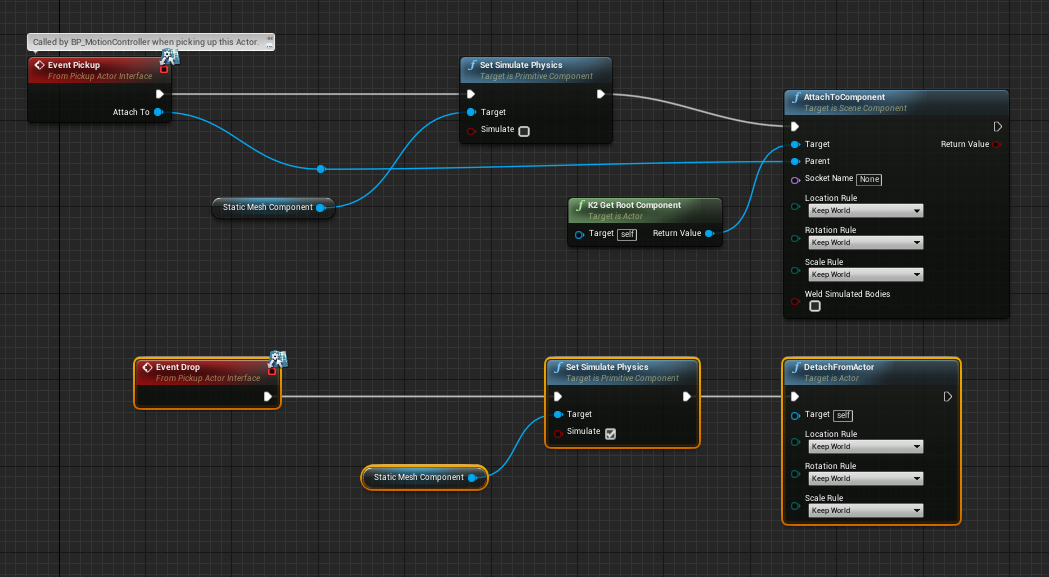
Open the BP actor and you can see the code inside (figure 2). It’s basically doing two things, deactivating the physics and attaching the actor to the controller on pickup. Then returning things to their original state on drop.
Figure 2. Pickup object function from VR template
To use this prefab for the cassette tape I simply duplicated the actor in the content browser then went to the actor viewport, selected StaticMeshComponent and added a new static mesh and materials (figure 3).
Figure 3. Replacing pickup cube prefab with custom mesh and material
Triggering the cassette sequence
To start, I placed two triggers in the level. The first, inside the cassette slot and the second over the eject button (figure 4). I also placed a 3D sound cue at the slot which would play the sound of a cassette being fed in, whenever the trigger was activated.
Figure 4. Trigger placement
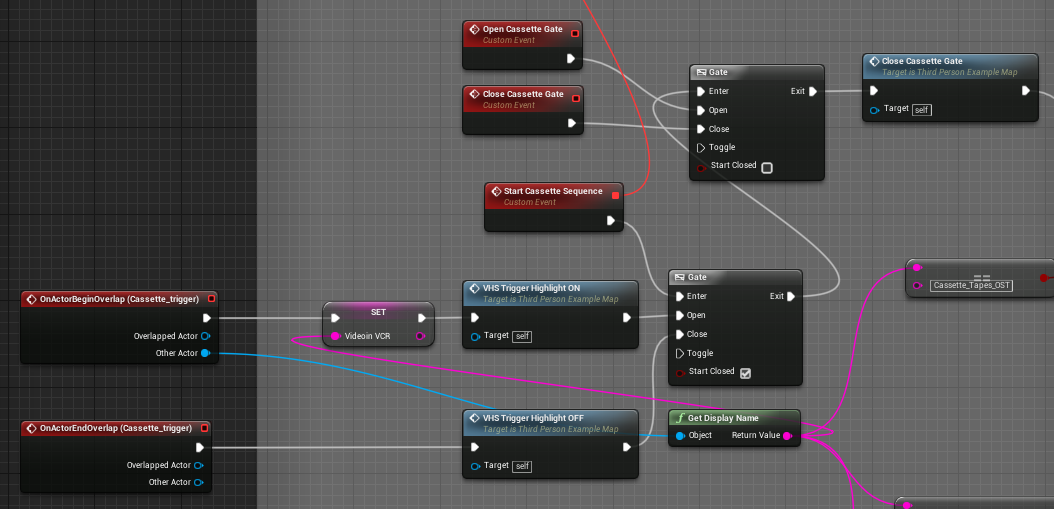
Next I put in the trigger conditions. Using the Begin and EndOverlap events to open and close a gate, I used the cassette_trigger (figure 5) to make sure the sequence and soundtrack wouldn’t play unless the player let go of the cassette tape whilst it was placed correctly in the slot.
[The start cassette sequence is attached to an event dispatcher that is activated when the player presses a trigger on their controller. We will cover this in another guide.]
The second gate immediately closes once activated to make sure the player can’t re-trigger the sequence whilst it’s already playing. [You can ignore the Trigger Highlight nodes, they’re for another guide.]
Figure 5. Trigger starting BP
Which cassette is which?
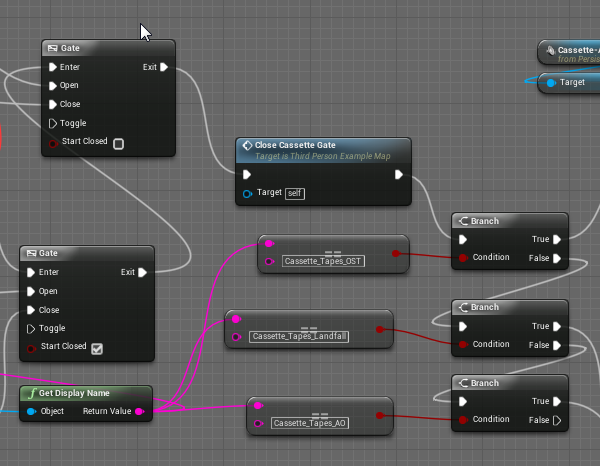
To make sure the soundtrack playing matched the tape entered into the hi-fi, the Cassette_trigger also outputs the Get Display Name (linked to the other actor output, see figure 5). The display name value (i.e. what the name of the object is at it appears in the level) is then output to 3 String Equals nodes, each fed into a Boolean branch (figure 6).
Figure 6. Using Display Name and branches to check cassette type
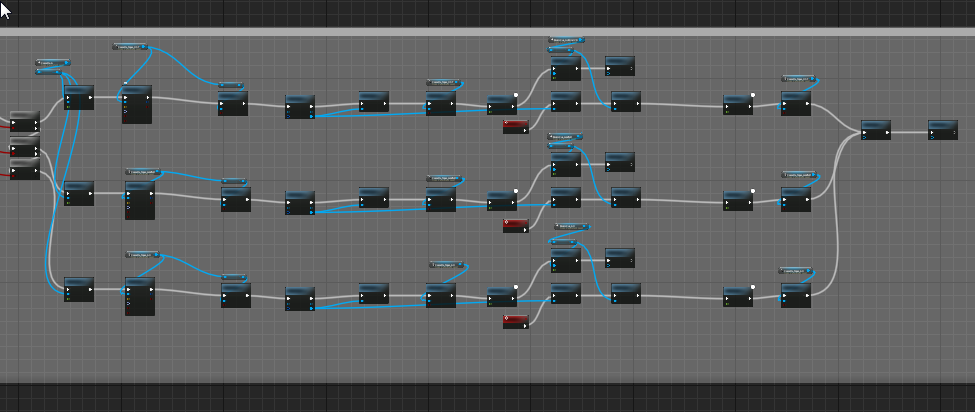
I used 3 cassette tapes, so all of the code that follows is essentially multiplied x3 (see figure 7). You can see below how the BP are pretty much the same for all 3 cassette tapes.
Figure 7. Branching code based on which cassette is selected
Starting the sequence
The next step starts the sequence (figure 8). First the cassette sound effect is triggered. Then Set ActorLocationAndRotation is used to set the cassette in place. Then Set Simulate Physics is used with the check box deselected to deactivate physics. Lastly, the level sequence player is opened using CreateLevelSequencePlayer. Each cassette has its own level sequence animation, so the correct one needs to be identified in the sequence player.
Figure 8. Setting cassette position, removing physics and starting animation sequence
Animation sequencer
The animation sequence was pretty simple. It’s only 2 moves, one with the cassette going forwards into the hi-fi, then one with it moving downwards. I made a new folder in the content browser called Sequences. Then I added a new sequence (content browser right click – Animation – Level Sequence).
The sequence uses cubic interpolation at the beginning and end but linear interpolation between actions. This gave the sequence a smooth start/end but an appropriate jerky feel in the middle that better matches the real-world action (figure 9).
Figure 9. Cassette level sequence, showing linear interpolation in the middle
You can change the interpolation very easily by right clicking on any animation key frame and selecting interpolation type from the options that will appear.
During the sequence
Whilst the animation is playing, Set Actor Enable Collision is used (deselected) to make sure the player can’t rip the cassette out of the hi-fi once it’s in. After a 5 second delay (allowing the cassette to move into place) the soundtrack cue will play until ejected.
Figure 10. Stopping the player interrupting the sequence
A reference to the custom event Hi Fi Eject Gate Open is triggered, which we’ll get to next.
The eject button
Figure 4 (earlier) showed the eject button (just a simple cube) with a box trigger over it. Figure 11 shows the code for how the eject button works.
First I used the trigger overlap events and a gate to make sure the button only worked if the player has their controller next to the eject button itself (so the player has to reach out to press it).
Next, I created another level sequence (I called it HiFi Eject). This was just a really simple, forwards-backwards action to represent a button press. The BP calls the sequence using create level sequence player and the sequence HiFi Eject. Then it plays.
A second gate is then placed (figure 11) to make sure the eject action doesn’t happen unless a cassette is currently playing. You can see this is set to start closed and was opened at the end of the cassette code we looked at a minute ago (figure 10).
Figure 11. BP for eject button
If the gate is open, the BP then uses the Is Playing node (used 3 times for each soundtrack) to check which soundtrack is playing. It then uses branches to decide which cassette needs ejecting. The code finishes with 3 references to custom events - which we go to now.
The eject sequence
To finish the BP, the eject button code (figure 11) activates this last bit of code (figure 12). The Play reverse node is linked to the earlier create level sequence player (see figure 8) and plays the animation sequence of the cassette going into the hi-fi – but backwards.
The current soundtrack audio is then stopped and collision for the cassette is restored (so the player can now remove it from the hi-fi.
Lastly the open cassette gate event reference goes back to figure 5 and means the whole sequence can be activated again. The hifi eject gate closed event reference goes back to figure 11 and means the eject button won’t work until another cassette is put into the hi-fi
 Figure 12. Ejecting the cassette and resetting everything
Leave a comment
Log in with itch.io to leave a comment.